clip studio paint animation layers
To display multiple layers at the same time create a layer folder and specify it on the timeline. If your layers are in sequential order then you need to make an animation folder.

How To Perfect Color Correction In Clip Studio Paint Clip Studio Paint Clip Studio Paint Tutorial Manga Studio
Groups Animation Folders Layers.

. Select the frame you want the copied layer to be and click specify cels thats the little symbol with the chain at the top of the timeline I changed my workspace so the timeline is at the bottom in the standard workspace I think its next to layer on the right iirc. You can now draw on the layer you added. Only the layer with the same name as that frame number the name of cell is displayed the current frame on the red vertical line of the timeline The first layer name 1 is the frame number the name of.
It can be displayed in the following way. Finally start choosing which frames you want where. Layers and layer folders in an animation folder are treated as cels creating the movement of the animation.
Use Layer Folders as a single Animation Cel. To create an audio layer select the Animation menu New animation layer Audio. The default animation function is Enable timeline is on It interlocks with the layer name managed by the frame number the name of cell on the timeline.
Create a new animation folder for the final lines and colors above your rough animation layer or go to Layer Create folder and insert layer for each rough cel You might want to make a shortcut or auto action to make this much quicker. Select Create folder and insert layer. Select Animation New Layer in the animation menu and add an empty track.
Specify the frame rate and length. Now lets see the basics of our workspace the first thing that I think is. Next time Ill show when I draw in.
Any content on the clipped layer that is outside of the drawn area of the lower layer above transparent pixels will not be shown. Paste your layer into the animation drag it in the animation folder 2. Right click on the timeline and specify the cell.
While I havent found a good workflow to do this I believe it involves Templates you can add a new Layer Folder and put that into your Animation Folder. You can put multiple layers in a folder You will be able to handle it as one layer. - Then in your layer options add a New vector layer under the new animation folder that you created.
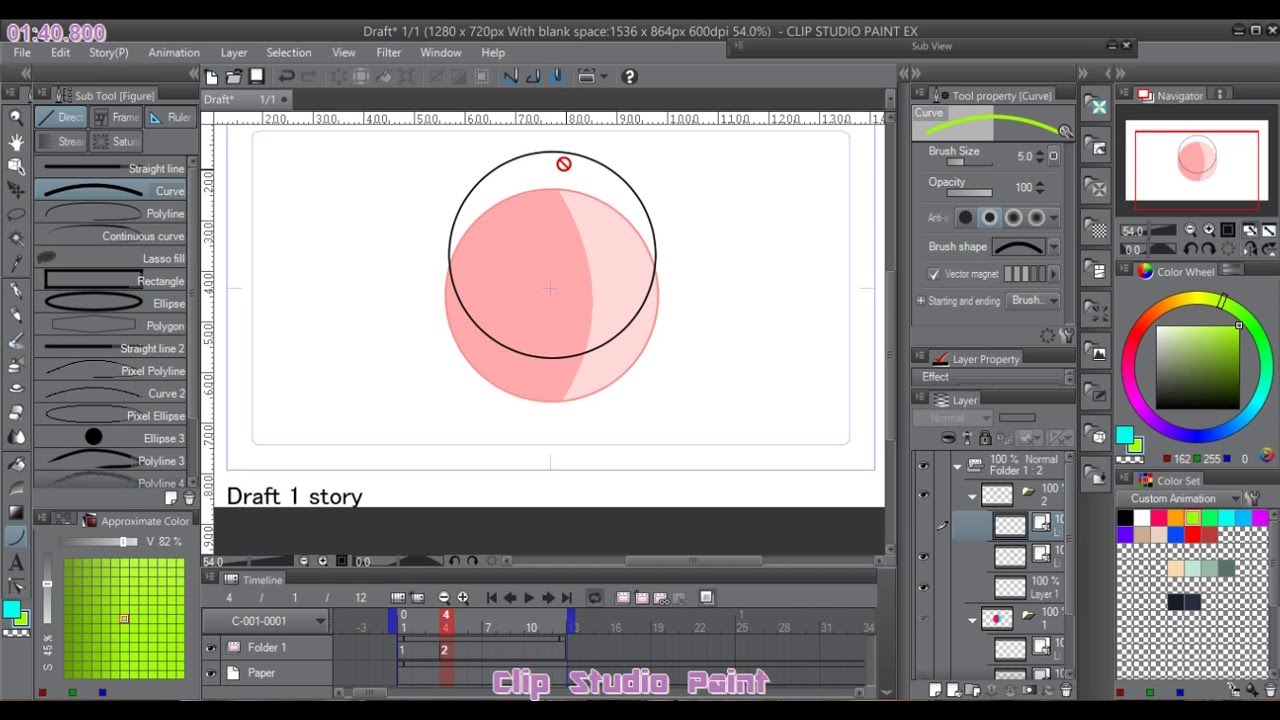
The first thing will be to create a new file in CLIP STUDIO PAINT we will select the animation option we will name the project we will also choose the size of the canvas in this case it will be 830 wide 900 long and the number of frames will be 24. Then select the name of the layer you added and set Specify cel. You just need it to be above 150 px.
The folder has the same name as the layer. The general hierarchy for thinking about your animations goes as such. Ideal for whatever you create whether short gifs or high-definition.
For iPad users long press the icon. We set the reference layer to PINK. Folders have the role of layers.
Clip to Layer Below. Ad Convey Your Story With An Engaging Informative And High-Quality Animated Video. On your timeline you can then refer to Layer Folder as an Animation Cel and it will show everything in the Layer Folder when that frame is active.
Refer to other layers and place it in transparency mode. Right click around the layer name. Draw your animation and storyboards on vector layers with your favorite pen and brush tools then resize and edit without losing line quality for the perfect finish.
Clip Studio Paint is used in 2D animation studios worldwide as an essential part of the animation process. An animation folder will be created in the layer palette so drag the layer to the animation folder to store it. - Now that you have changed your resolution you can create a vector layer.
You can right click in the timeline bar on specific frames and choose which. Products Clip Studio Paint - Pro and. Create a new animation folder on the timeline.
Cels layers in an animation folder must be specified to the Timeline before they can be drawn on. The button for that is in the timeline window a little after the playback buttons. The layer is now an animation cell.
During animation work only the cells specified in the timeline are displayed. Select any frame on the. The audio layer will be created in the Layer and Timeline palettes.
We color with an airbrush it does not matter if you go out of the drawing. You can create animation by specifying cels to the Timeline palette. Or uncheck Animation - Enable timeline and interrupt animation work.
Drag all your drawings into this animation folder. - First create a new animation folder by pressing the New animation folder button in the Timeline. The layer called rose sunflower.
You can complete the illustration in the folder. We create a new raster layer and place it on top of the PINK layer. In the Animation folder row of the timeline palette right-click the position where you want to display the cel.
Because of the way Clip Studio Paint handles animation layers are cels kept in an Animation Folder you register to the timeline its a good idea to correctly name your groups Animation Folders and subsequent layers when necessary. However audio files can not be played in this state. Move the layers you want to combine into that folder.
For details on specifying cels to the Timeline see Cel specification operations. I draw like this. To play audio files you need to import an audio file.
Let Our Experts Guide Your Production Editing Delivery Distribution Of Your Message. Clip Studio Paint Animation Basics Part 1 Youtube Clip Studio Paint Animation In Photoshop Photoshop Animation Tutorial Pin On Tudo Share this post. This time is not about animation that muchBut I wish this can help you know when I draw every frame.
Select Layer menu Layer settings Clip to Layer Below to limit the shown area of the selected layer to the drawn parts of the layer immediately below. You can select Audio from the file reading of the menu and read it.

Clip Studio Paint Clip Studio Net Clip Studio Paint Painting Studio Street Graffiti
Clip Studio Paint Clipstudiopaint Clip Studio Paint Clip Studio Paint Tutorial Painting Studio

Clip Studio Paint Ex Basic Animation Process Clip Studio Paint Animation Animation Process

Lifetime Digital Drawing Painting Software Clip Studio Paint Debut License 700 Creative Assets Bypeop Digital Drawing Clip Studio Paint Creative Assets

Learn How To Perfect Color Correction In Clip Studio Paint Clip Studio Paint Frame By Frame Animation Studio

Clip Studio Paint Is A Professional Grade Graphics Software That Has Become An Excellent Alternative To Photo Clip Studio Paint Animation Tools Digital Drawing

The Purple Parts Outside Of The Frames Are Mask Which Will Hide Where You Draw Over The Frames You Can Config Clip Studio Paint Painting Studio Manga Studio

Pose Scanner Demo Clip Studio Paint Pro Clip Studio Paint Studio Clip

How To Use Layers In Clip Studio Paint Digital Painting Clip Studio Paint Tutorial Clip Studio Paint Digital Painting

Clip Studio Paint Clip Studio Net Clip Studio Paint Manga Studio Tutorial Clip Studio Paint Brushes

Clip Studio Paint Clip Studio Net Clip Studio Paint Digital Painting Techniques Clip Studio Paint Tutorial

Clip Studio Paint Clip Studio Net Clip Studio Paint Digital Drawing Tablet Couple Poses Reference

Clip Studio Paint Clip Studio Net Clip Studio Paint Clip Studio Paint Tutorial Painting Studio

Everything I Know About Vector In Clip Studio Paint How To Use Vector Layers 1 By Gugarts Clip Studio Tips Clip Studio Paint Vector Drawing Painting

Clip Studio Paint Clip Studio Net Clip Studio Paint Painting Studio Manga Studio

Clip Studio Paint Clip Studio Net Clip Studio Paint Digital Painting App Painting Studio
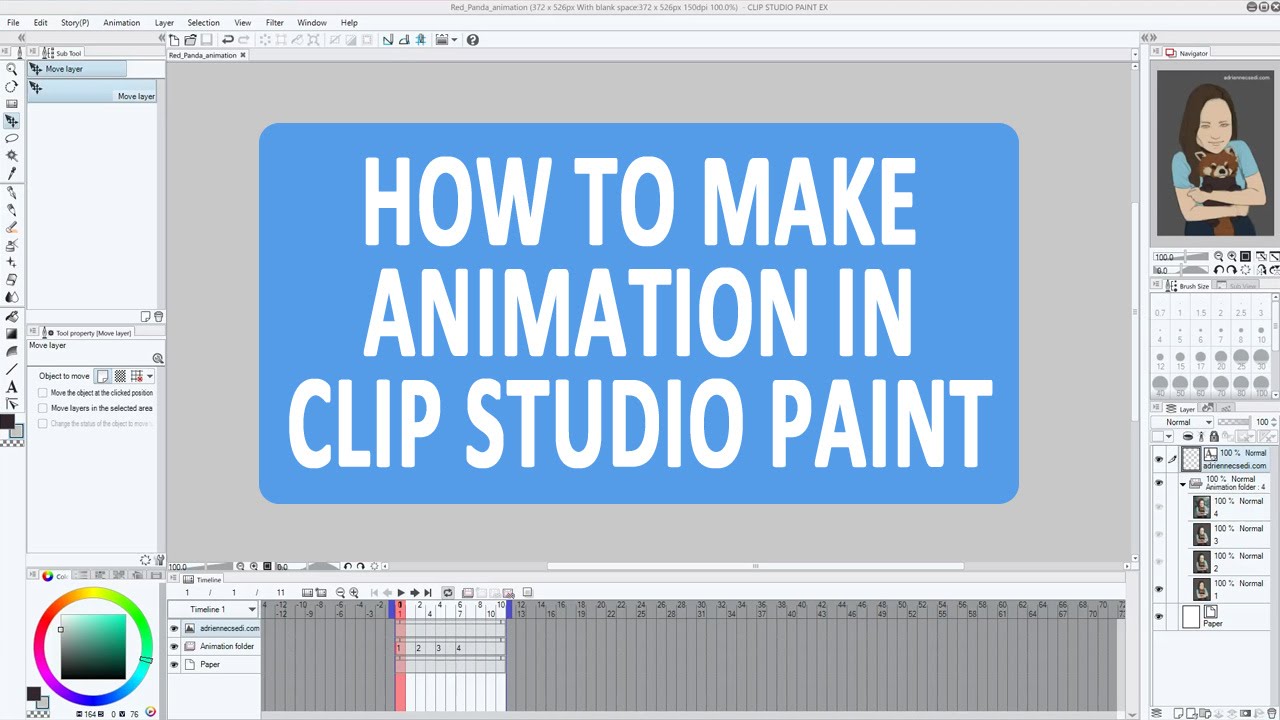
This Video Shows How To Make A Simple Animation In The Upgraded Clip Studio Paint Ex Formerly Manga Studio 5 I Show You Through An Example How You Can Creat

Clip Studio Paint Animation Livestream Clip Studio Paint Animation Painting
Clip Studio Animation Inking And Colouring Clip Studio Paint Clip Studio Paint Tutorial Character Design Tutorial